How to Whitelist Salad in K7
1. Open K7
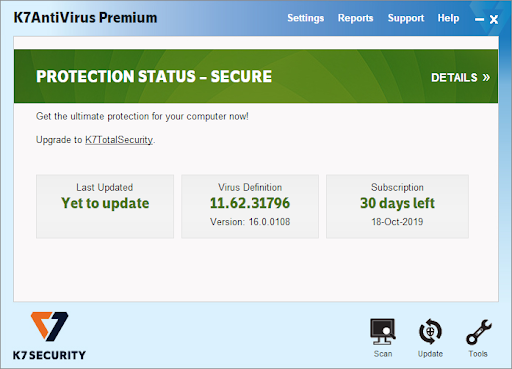
This will be the main screen you are presented within K7, and is your base of virus-fighting operations.
2. Navigate to Settings
To access the settings of K7, select ‘Settings’ situated on the top of the main screen as pictured below.

3. Click 'Add Directory'
After you have clicked on ‘Settings’ you will be presented with your basic K7AV settings. From there, select ‘Antivirus and Antispyware’ as pictured below

4. Click on 'Sentry'
After you have clicked on ‘Antivirus and Antispyware’ you will be presented with your Antivirus settings. From there, select ‘Sentry’ as pictured below

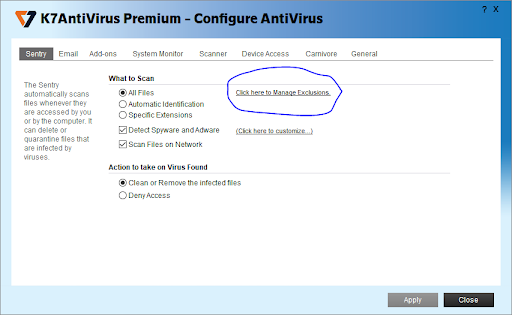
5. Click on ‘Click here to Manage Exclusions’
After you have clicked on ‘Sentry’ you will be presented with your antivirus exclusions settings. From there, select ‘Click here to Manage Exclusions’ as pictured below
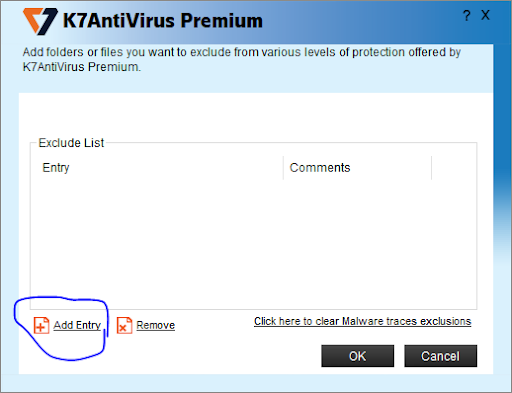
6. Adding an Exclusion
After you have clicked ok ‘Click here to Manage exclusions’, you will be presented with your exclusion list. From there, select ‘Add Entry’.
7. Adding Salad an Exclusion
After you have clicked on ‘Add Entry’, you will be presented with a new window. And on that Window, you’ll want to navigate to the Salad miner folder on the dialogue box, the path for this is “C:\ProgramData\Salad\workloads” and make sure to check all the three options.
8. Click 'OK'
Once you’ve found your Salad installation folder and clicked it, hit ‘Ok’, and it will bring you back to the main K7AV Exclusion page with your newly added exclusions.
9. Run Salad
Open your Salad widget and click the play button. Contact support here if this issue persists.